How to Add O&O (Issues) in the New Meeting Experience (Better Bloom) in Bloom Growth
In Bloom Growth adding Opportunitis & Obstacles (Issues) to your meetings is quick and easy. You can do this from several places in the interface. Follow these steps to add an O&O to your meeting:
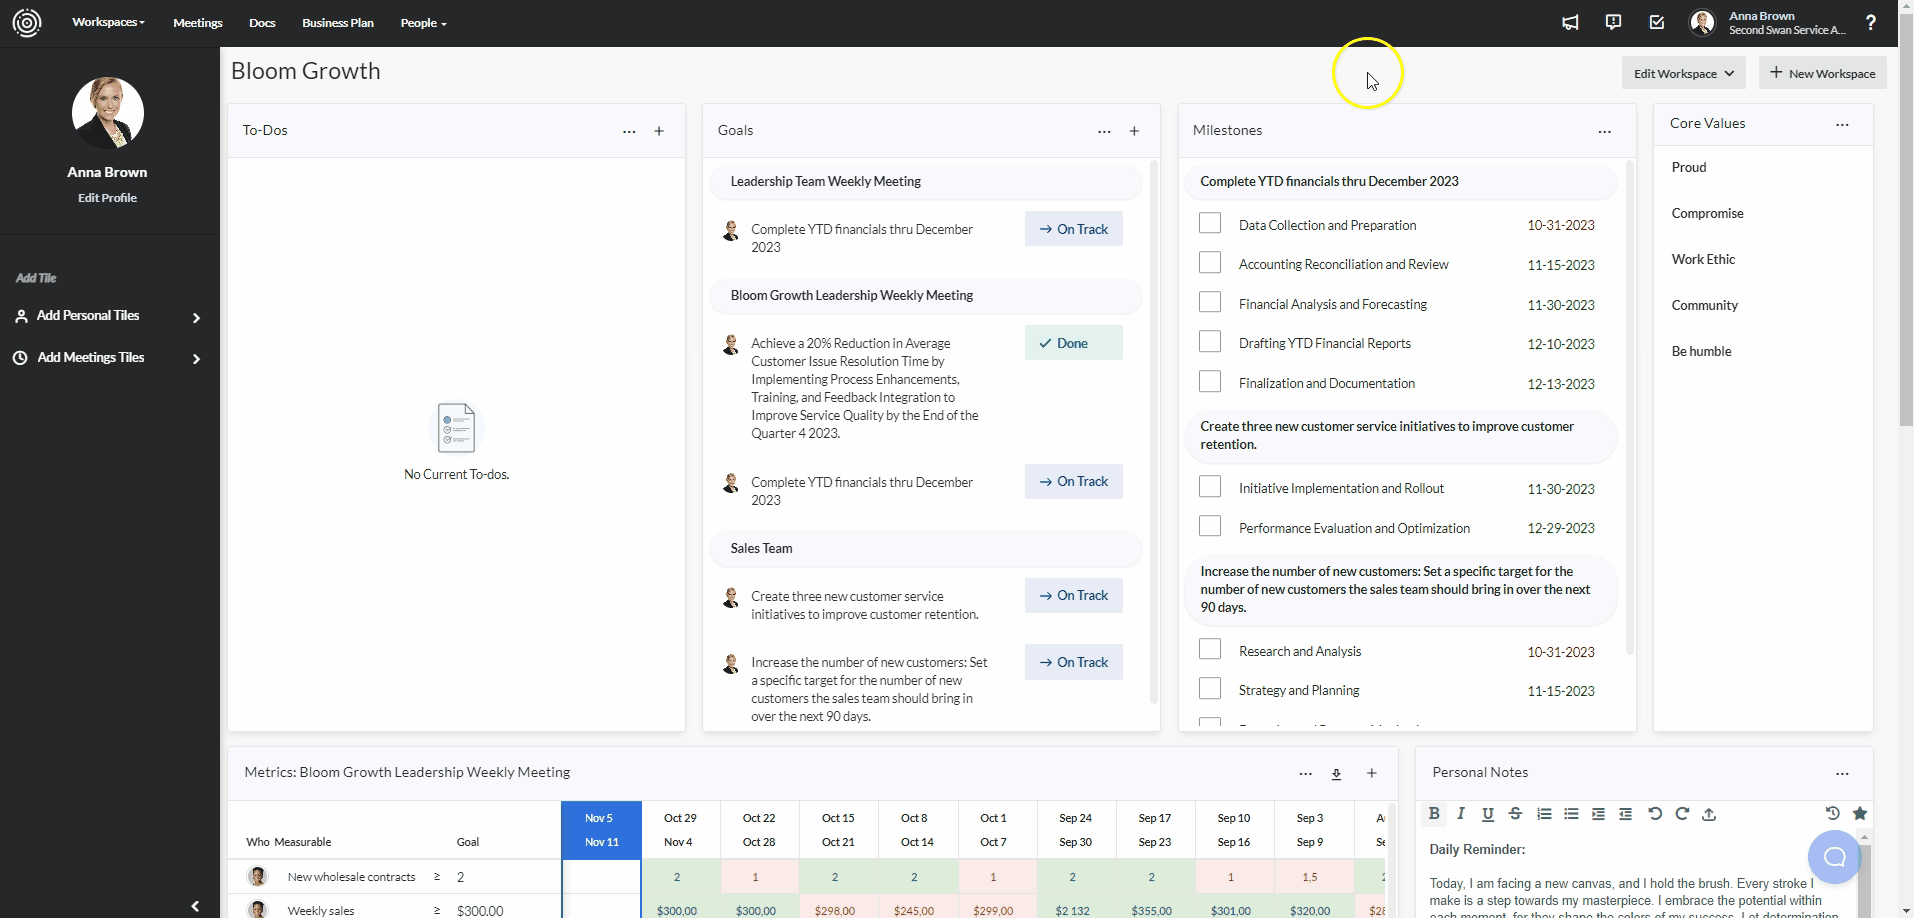
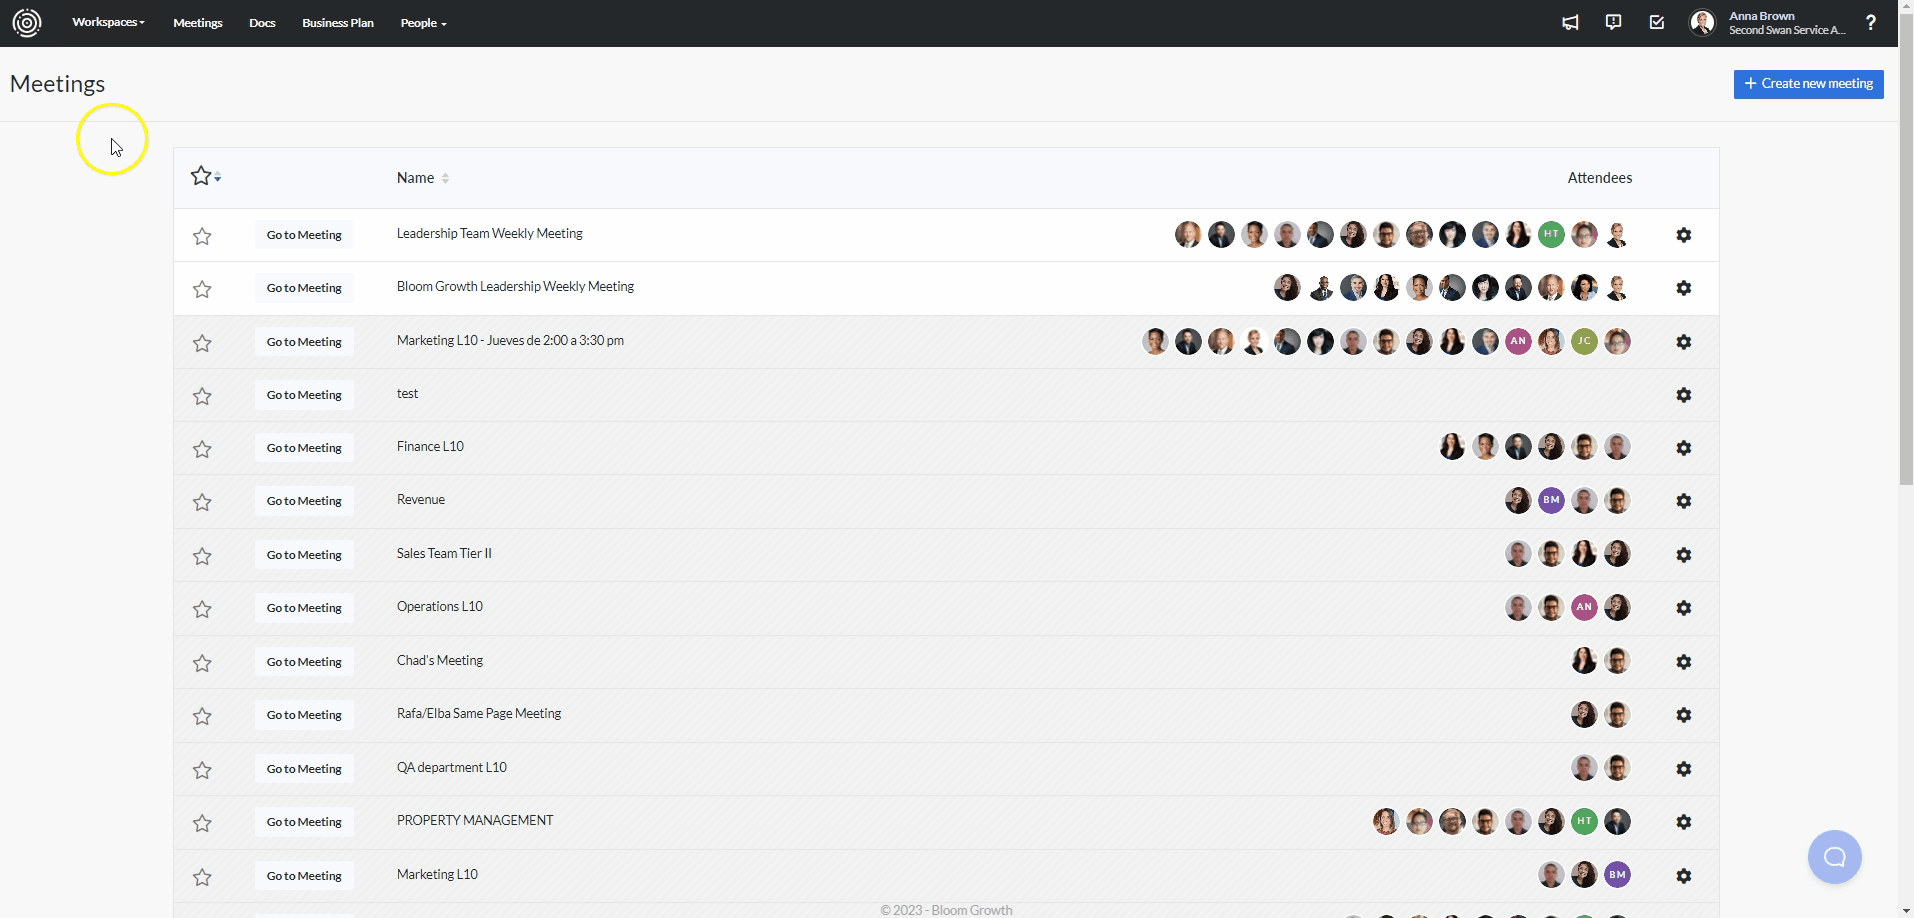
- Navigate to the left sidebar and click Meetings List.
- Select the meeting where you want to add the O&O.
- Once inside the meeting, you can add O&O from various places:
1. From the O&O Section (within the Agenda):
- After selecting the meeting, locate the O&O section in the Agenda on the left sidebar.
- Click O&O, then use the Create a quick issue button.
- Type in the issue or situation and press Enter—your issue will be automatically added to the meeting.
2. From the Meeting Workspace:
- At the top of the page, you’ll see the Workspace tab next to the Meeting tab.
- From here, navigate to the O&O tile and use the Create a quick O&O option to easily add your issue.
3. From the Big Plus (+) Button (Top Right):
- Click the large + button on the top right of the page.
- Select Create an O&O.
- Enter the issue title, select an owner, and choose the meeting where the O&O will be added.
- You can decide to add it to the Long Term section in the Plan or keep it in the Short Term Issues list to be addressed in your meeting.
- Add any additional details.
- Finally, click Save. If you want to create another issue right away, check the Create another issue box before hitting Save.
How to Edit O&Os (Issues)
In the New Meeting Experience, editing O&Os (Issues) is a simple process. Here’s how you can do it from two different areas within the platform:
1. Editing from the Agenda:
- Navigate to the O&Os (Issues) section on the left side of the agenda.
- Select the issue you want to edit by clicking on it.
- In the right-hand panel, click the title of the issue to start editing.
- You can now modify the title, owner, assign the issue to a specific meeting, add it to the long-term issues list, and update the details.
- Once you’re done, don’t forget to hit Save and Close.
2. Editing from the Meeting Workspace:
- In the New Meeting Experience, the workspace is now located next to the Meeting section at the top of the page.
- From here, navigate to the right side, find and click the name of the issue you want to edit.
- You’ll be able to edit the title, owner, and details.
- Remember to click Save and Close when you’ve finished making changes.
How to Add O&O (Issues) in the Legacy Version of Bloom Growth
Add an Issue
In Bloom Growth, the process of adding an issue is designed to be both user-friendly and versatile. Whether you're outside of a meeting or actively participating, the platform ensures that you have the flexibility to report issues seamlessly. This capability is accessible through various methods, including Workspaces, Texting actions, mobile devices, and the Edit Meeting section. Outside of a meeting- Workspace: There are a series of icons in the upper-right corner of the Workspace (just to the left of the picture icon). The exclamation mark (in the middle) allows you to add an Issue. Fill in the basic information to create the Issue and click Save. If you are in more than one Weekly meeting, you'll be able to select from a drop-down which meeting the Issue should appear in.
- Meeting Workspace: Click Workspaces on the top left-hand side. Click the + button located on the right-hand side of the Issues tile.
- Texting: We also offer the option to text an Issue into the meeting, allowing you to capture what's important at the moment, even if you're away from your computer. Please see this link for additional instructions.
- Mobile Device: Use the website through a browser on a mobile device to add issues anytime. Just log in as you normally would do so on your computer.
- Verify Issue was added: To make sure an issue was added, view the Issues Tile for the specific Weekly Meeting. Please see this link for additional instructions.
- Manage Issues: You can also view all of the current Weekly Meeting content through the Edit Meeting section.
- Click Meetings in the top menu bar
- Click Edit Meeting on the gear icon button to the right of your meeting
- Click Issues on the left to view/edit/archive Issues
- If you have a list of issues, you can upload them all at once instead of adding them one by one.
During a meeting
- A "New Issue" button will be present on each page of your Weekly Meeting. You can locate it at the top right corner of the meeting page (image below)
- You can also create a Context-Aware Issue™ by clicking the exclamation mark to the right of a Metric, Goal, Headline, or To-Do. Using this button will pull notes and data from the item being used to create an issue.
Edit an Issue/Reassign an issue
Edit Meeting Section
- Click Meetings in the top menu bar
- Click Edit Meeting on the gear icon button to the right of your meeting
- Click Issues on the left
- To reassign an issue, click on the owner's picture (or the initials) on the left-hand side of the issue, select the new owner, and click the checkmark to confirm (refresh the browser to reflect the new owner of the issue)
- To edit the title or notes, click on the issue title which will populate an edit box.
- Hit Save.
During a meeting
- Click on the Issues page on the left
- Click on the Issue title
- The panel on the right will open. Here you can edit the title or notes.
- To change the owner, click the name currently shown in Owned By: at the bottom
- Click a name to select a new owner
- Changes are reflected immediately
Archive an Issue
- Click Meetings in the top menu bar
- Click Edit Meeting on the gear icon button to the right of your meeting
- Click Issues on the left
- To archive an issue, use the trashcan icon to the right
Important: The issues can be archived by clicking on the Issue title and selecting the "Archive" button found at the bottom left corner of the pop-up message.
Restore an Issue
- Click Meetings in the top menu bar
- Click Edit Meeting on the gear icon button to the right of your meeting
- Click Meeting Archive
- Click Issues along the top
- Choose a date range with the calendar icon in the top right corner, this is how to find older items
- Select the date range using the left calendar as a starting date and the right calendar as an ending date. Click Apply (Or use one of the presets available)
- Click Apply
- The archived issues will appear grayed out for the date range selected
- Click on any issue to view notes
- To Restore an issue click the "x" to the right of your issue. The issue will be restored to the meeting.

Issues accidentally archived during a meeting:
If you accidentally close an issue during a meeting, simply press CTRL + Z (or CMD + Z on a Mac) at the same time on your keyboard, to restore the issue.